
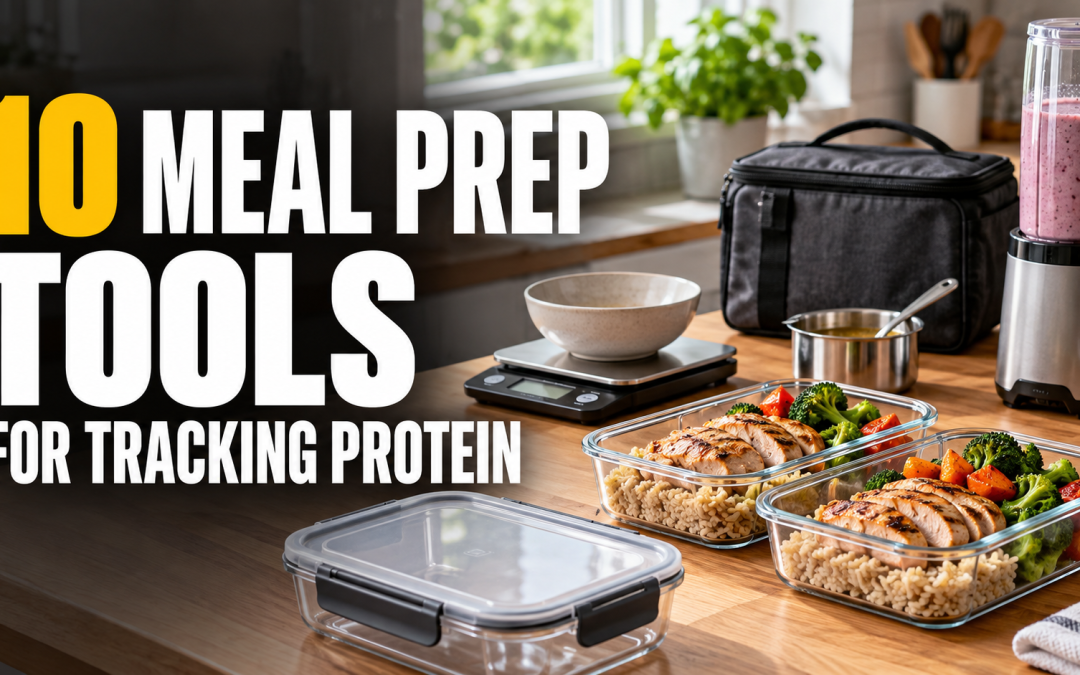
Meal prep tools often starts with a good intention and ends with a kitchen full of washing-up. You have cooked several portions, but the containers do not fit in the fridge, one lid is missing and you are not quite sure what to enter in your food tracker. The right meal pret tools can make that process easier. Scales help you weigh ingredients, containers keep portions together and a lunch bag makes carrying them less awkward. Larger appliances are worth considering when they suit the meals you actually cook. Here are ten meal prep tools to look at, with buying details that matter and a few reasons to skip a purchase. Start with the gaps in your current setup rather than ordering a whole new kitchen.
Disclosure: This article contains paid affiliate links. As an Amazon Associate I earn from qualifying purchases.
Get the weighing and logging right first
A kitchen scale measures weight, not protein. You still need the food label or a suitable nutrition entry to estimate how much protein is in a portion. For example, if the label states 20g of protein per 100g of food, a 150g portion contains 30g of protein on that basis. Check whether the information applies to the food raw, cooked, drained or prepared. Those weights are not interchangeable. For a mixed dish, you can log the ingredients as a recipe and divide the total into your portions. Equal shares by weight are a useful estimate when the mixture is evenly distributed. If one box gets most of the chicken and another gets mostly sauce, equal total weights will not mean equal protein.
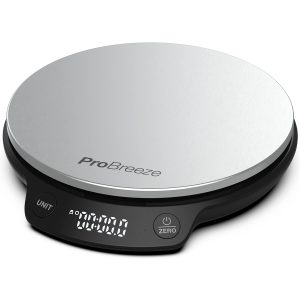
1: Digital kitchen scales
If you regularly weigh ingredients, a dependable kitchen scale is a sensible first purchase. It helps you portion foods such as yoghurt, beans, meat or tofu without guessing from the size of a spoonful. Look for a clear display, a tare function and a maximum capacity that will accommodate your bowl as well as its contents. Tare lets you reset the reading after placing an empty container on the scale, so you can measure the food alone. A broad platform is useful for larger bowls. Check that the bowl will not cover the display, and that the scale uses units you want to work in.
A wipe-clean surface is more convenient than awkward seams that collect spills. A display reading to 1g is common on everyday kitchen scales, but resolution is not the same as guaranteed accuracy. Follow the instructions for positioning and use. If your current scale works reliably, there is little reason to replace it with a model described as a fitness gadget.
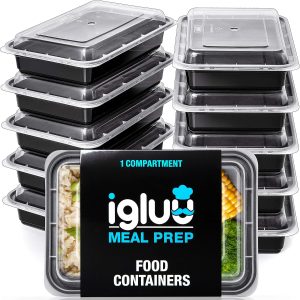
2: Stackable meal prep containers
Containers decide whether your prepared meals fit neatly in the fridge or become a balancing act. Before buying a large set, think about the meals you pack and measure the shelf where they will go. Check capacity, lid design and how the boxes stack when full and nest when empty. Compartments can keep components separate, but they also restrict how much room each part of the meal gets. A simple single-compartment box may suit soups, curries and pasta better. Glass and plastic have different practical trade-offs. Glass is heavier to carry, while the suitability of a plastic container depends on the particular product. Check freezer, microwave and dishwasher instructions for both the base and lid. If meals travel in a bag, look for a secure closure and follow the manufacturer’s guidance on liquids. A divided container does not automatically have a separate leakproof seal around each section.
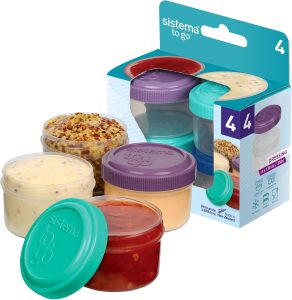
3: Small pots for sauces and toppings
A few small pots are handy when part of a meal is better added just before eating. They can hold a dressing, a yoghurt topping or a measured portion of nuts without taking up a full lunch box. Look for lids that are easy to close and an opening wide enough to clean properly. Check the capacity against what you normally pack. A tiny sauce cup and a pot for a generous yoghurt serving do different jobs. Keeping a dressing separate can stop the rest of lunch sitting in it all morning. It also makes it easier to portion the dressing when assembling your meals, rather than estimating how much went into each box. Small containers you already own may work perfectly well. Buy a set if you keep running short, and choose matching lids if finding the right one has become a daily nuisance.
4: An insulated lunch bag with ice packs
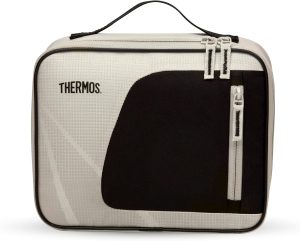
If your prepared lunch leaves the house with you, choose a bag that fits the container and leaves room for ice packs. Check the internal dimensions, not just the advertised volume. A flat base helps a box sit upright, and a lining you can wipe clean makes spills easier to deal with. Separate pockets may be useful for cutlery, but the main compartment needs to hold the meal you actually carry. An insulated bag slows temperature changes; it is not a powered fridge. For chilled foods, pack with suitable ice packs and put the meal in a fridge when you arrive if one is available. How long food stays cold depends on the packing, bag and conditions. If you eat all your prepared meals at home, this can wait. It is most useful when carrying lunch is the part of your routine that needs fixing.
5: Freezer bags or freezer containers
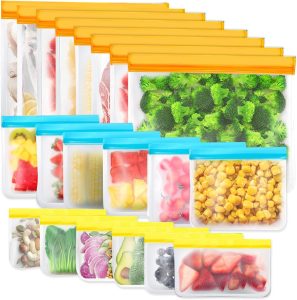
Freezing some portions gives you more flexibility than trying to keep every meal for the week in the fridge. Choose packaging intended for freezer use and suited to the type of food you store. Flat bags can work well for portions of soup or sauce, while rigid containers are easier for foods you want to keep in shape. Follow the filling guidance, including any room needed for expansion, and check that closures are secure. Reusable bags need to be straightforward to wash and dry, especially around the seal. Disposable freezer bags may be more convenient for some households, so choose a system you will use consistently. Divide a batch into portions you expect to eat. Freezing everything in one large tub can mean thawing more than you need later. Add the contents and date before the packaging becomes cold or wet.
6: A large rimmed baking tray
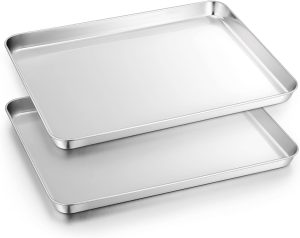
A baking tray is useful for cooking several portions of ingredients in the oven. It can hold vegetables, tofu or other foods suited to roasting, depending on your recipe. Measure your oven and check the tray’s usable dimensions. A tray that technically fits but leaves little room to handle it is frustrating. A rim helps contain juices, and the manufacturer’s care instructions should explain how to maintain the surface. Avoid choosing on size alone. Several portions packed tightly onto one tray may cook differently from the same food spread out. Follow the recipe, allow appropriate space and use separate trays where needed. If you already own a suitable roasting tin or tray, use that first. An extra tray is worth buying when it lets you cook the batch size you need without repeated oven sessions.
7: A slow cooker for the recipes you make often
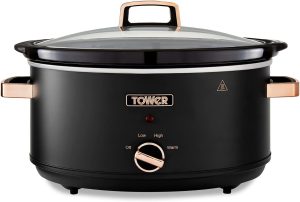
A slow cooker may suit you if your regular meal prep tools do not leng themselves to includes stews, chilli or other recipes designed for it. It can free up hob space, although preparation, cooking time and washing-up still need planning. Choose capacity based on the batches you make and the manufacturer’s recommended fill levels. The headline bowl size is not necessarily the amount of food you should cook in it. Check the available settings, controls and cleaning instructions. A removable insert is convenient, but confirm whether it can go in the dishwasher. Follow recipes and food preparation guidance intended for the appliance, including specific instructions for ingredients such as dried beans. This is a larger purchase, so be honest about cupboard and worktop space. If a pot on the hob already suits your recipes and schedule, a slow cooker may add little.
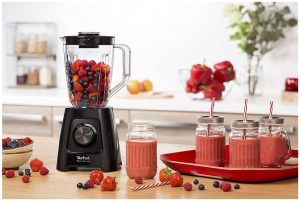
8: A blender for breakfasts and sauces
A blender can be useful for smoothies, soups and sauces. Whether it earns its space depends on how often you make those foods, rather than whether the box calls it a protein blender. For single servings, a personal blender may suit your routine. For larger batches, compare jug capacity and cleaning access. Check the manufacturer’s limits for ice, frozen ingredients and hot liquids instead of assuming every model handles them. Sealed personal blending cups may be unsuitable for hot ingredients. Follow the model’s instructions for temperature and filling, and check whether the drinking lid is designed for carrying the contents. A blender does not increase the protein in a recipe. That comes from the ingredients you put in it. If your existing blender works, or you rarely make blended meals, there is no need to buy another one for meal prep.
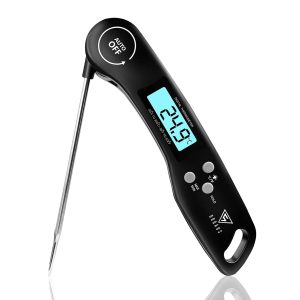
9: A food thermometer
A probe thermometer can help you check cooking temperatures when following a recipe or food safety guidance. This in my view ranks it among the top meal prep tools. You cannot take chances with health and safety. Look for a readable display, a suitable temperature range and clear instructions on probe placement. Check how the probe should be cleaned and whether the thermometer is designed for an instant reading or to stay in the food during cooking. Use the recommended temperature and time guidance for the food you are preparing. A number on the display is only helpful when you have taken the reading correctly and know what it needs to reach. Keep it accessible so you remember to use it. Clean the probe as instructed between checks, especially when moving between raw and cooked food.
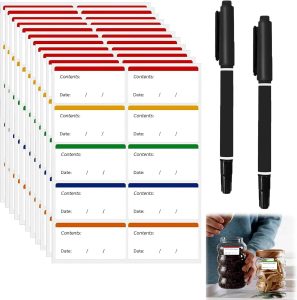
10: Freezer labels and a suitable pen
Once several tubs look alike, labels save opening each one to work out what is inside. Write down the dish, preparation date and any portion information you want to keep with it. Choose labels designed for the surface and conditions involved. Check whether they stick in the freezer, come off cleanly and need a particular type of pen. Some are intended to be applied while the container is dry and at room temperature. If you track recipes, a short recipe name can help you find the correct entry later. A note such as one quarter of the batch may be more useful than copying a nutrition estimate onto every lid. Labels help you organise meals, but they do not make food last longer. A date is only useful if it is part of a storage routine that follows the relevant food safety guidance.
What meal prep tools are worth buying first?
For most of this routine, start with scales if you need to weigh food, enough suitable containers for your portions and somewhere to store them. Add a lunch bag if you regularly carry chilled meals away from home. Use the pans and appliances you already have for the first few batches. After that, you will know whether another tray saves time or a blender would get used. Buying a cooker before deciding what to cook is an easy way to lose cupboard space. All other meal prep tools can be added in accordance with your desire.